26 Feb 2023
How do I create a free AWS account and set up my console?
AWS is one of the most popular cloud computing platforms and is used by many companies around the world.

Patrycjusz Czerniga
Senior Devops engineer
blogAbstractMinutes
blogAbstractTimeReading

Banking
Technology Trends
Cloud
Amazon Web Services
Platform Modernization
contact
share
AWS is an abbreviation for Amazon Web Services, a platform of cloud computing services offered by Amazon. AWS enables a wide range of computing services such as data storage, compute, databases, web applications, etc.
With AWS, you can easily and flexibly scale and manage your applications and services from anywhere in the world using a user-friendly web interface . AWS is one of the most popular cloud computing platforms and is used by many companies around the world.
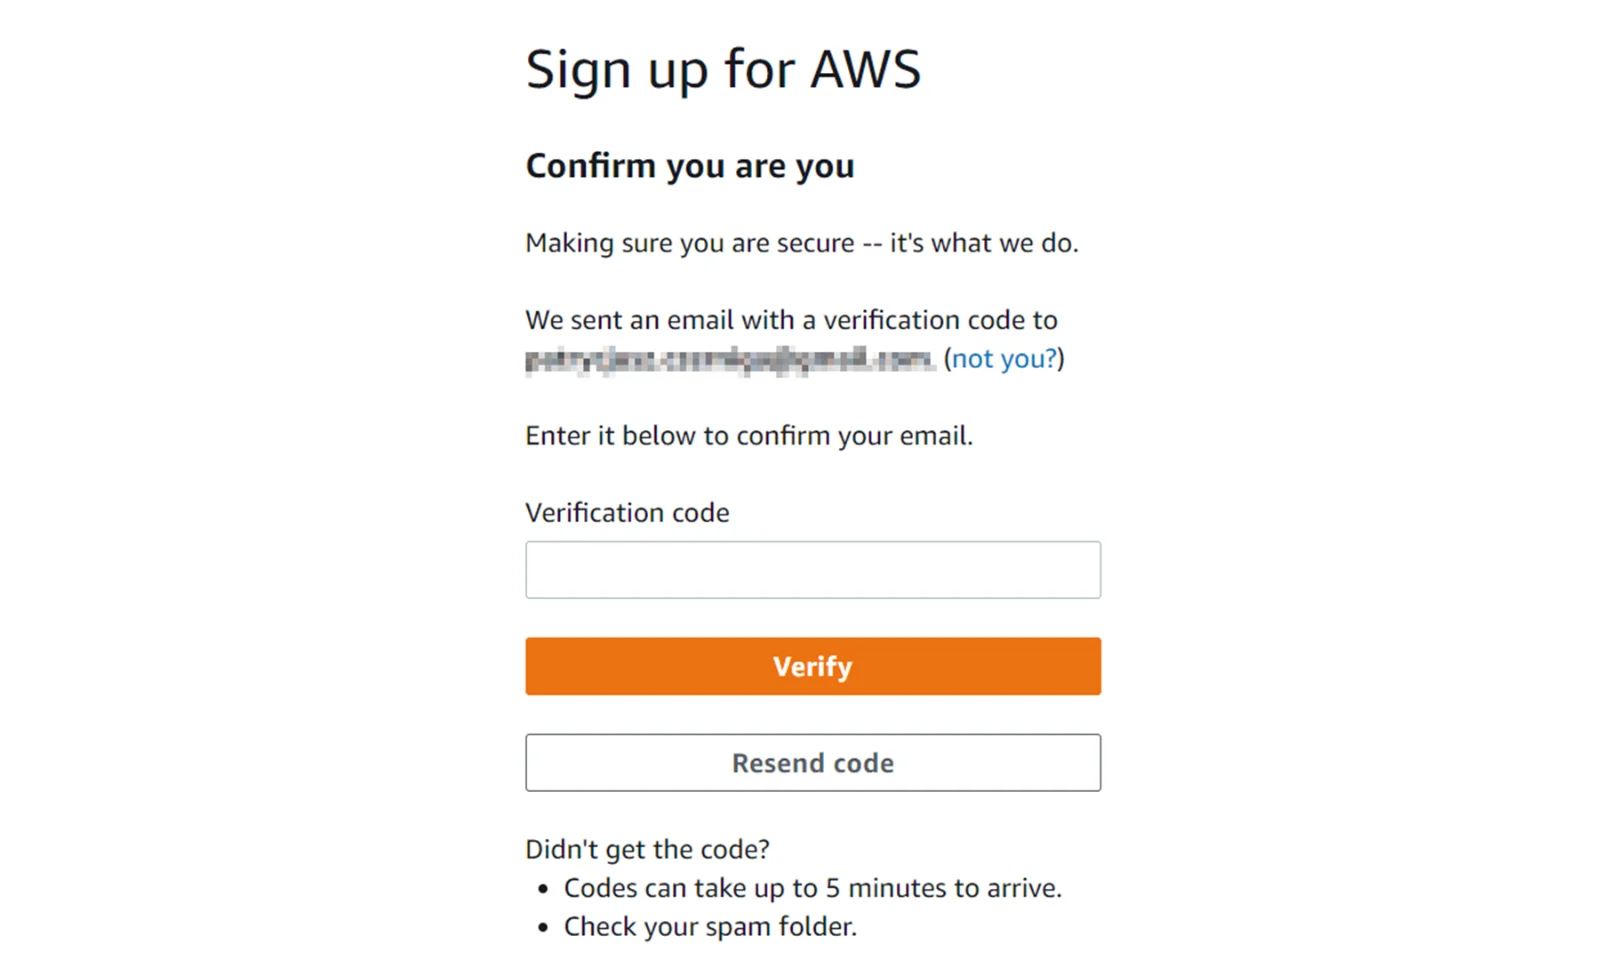
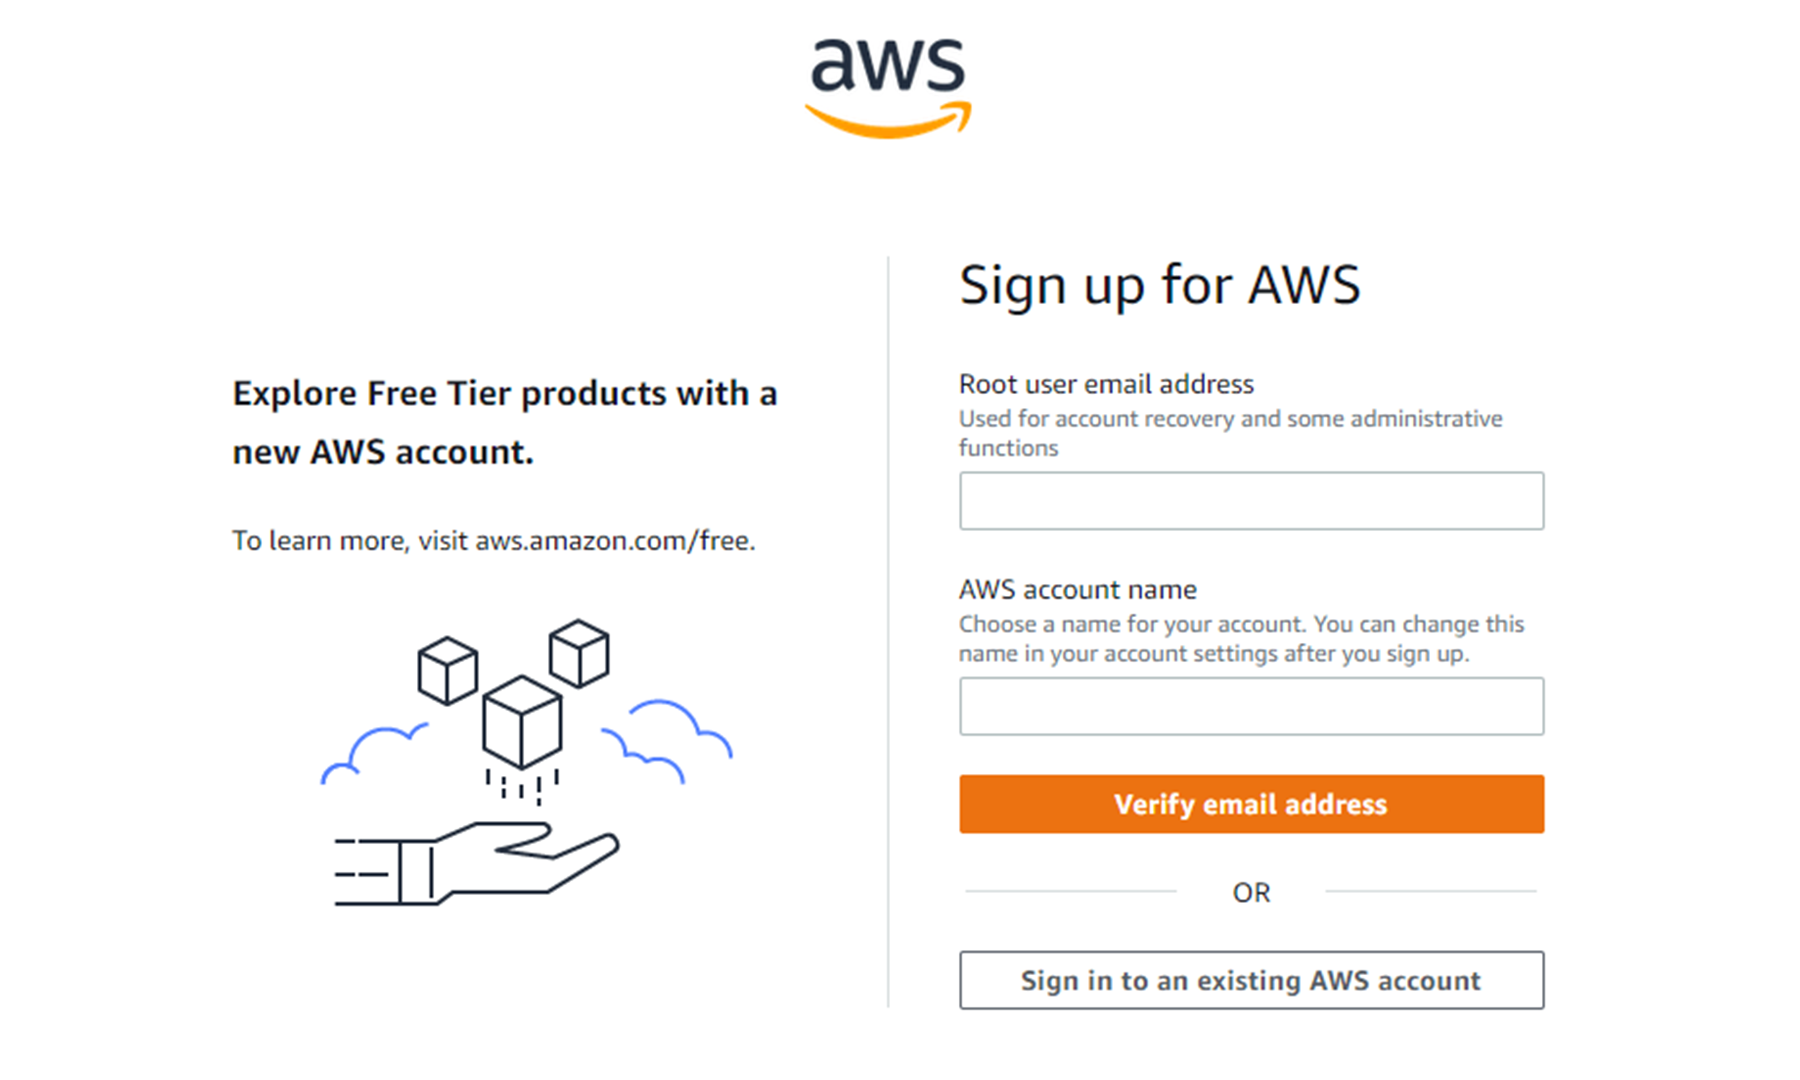
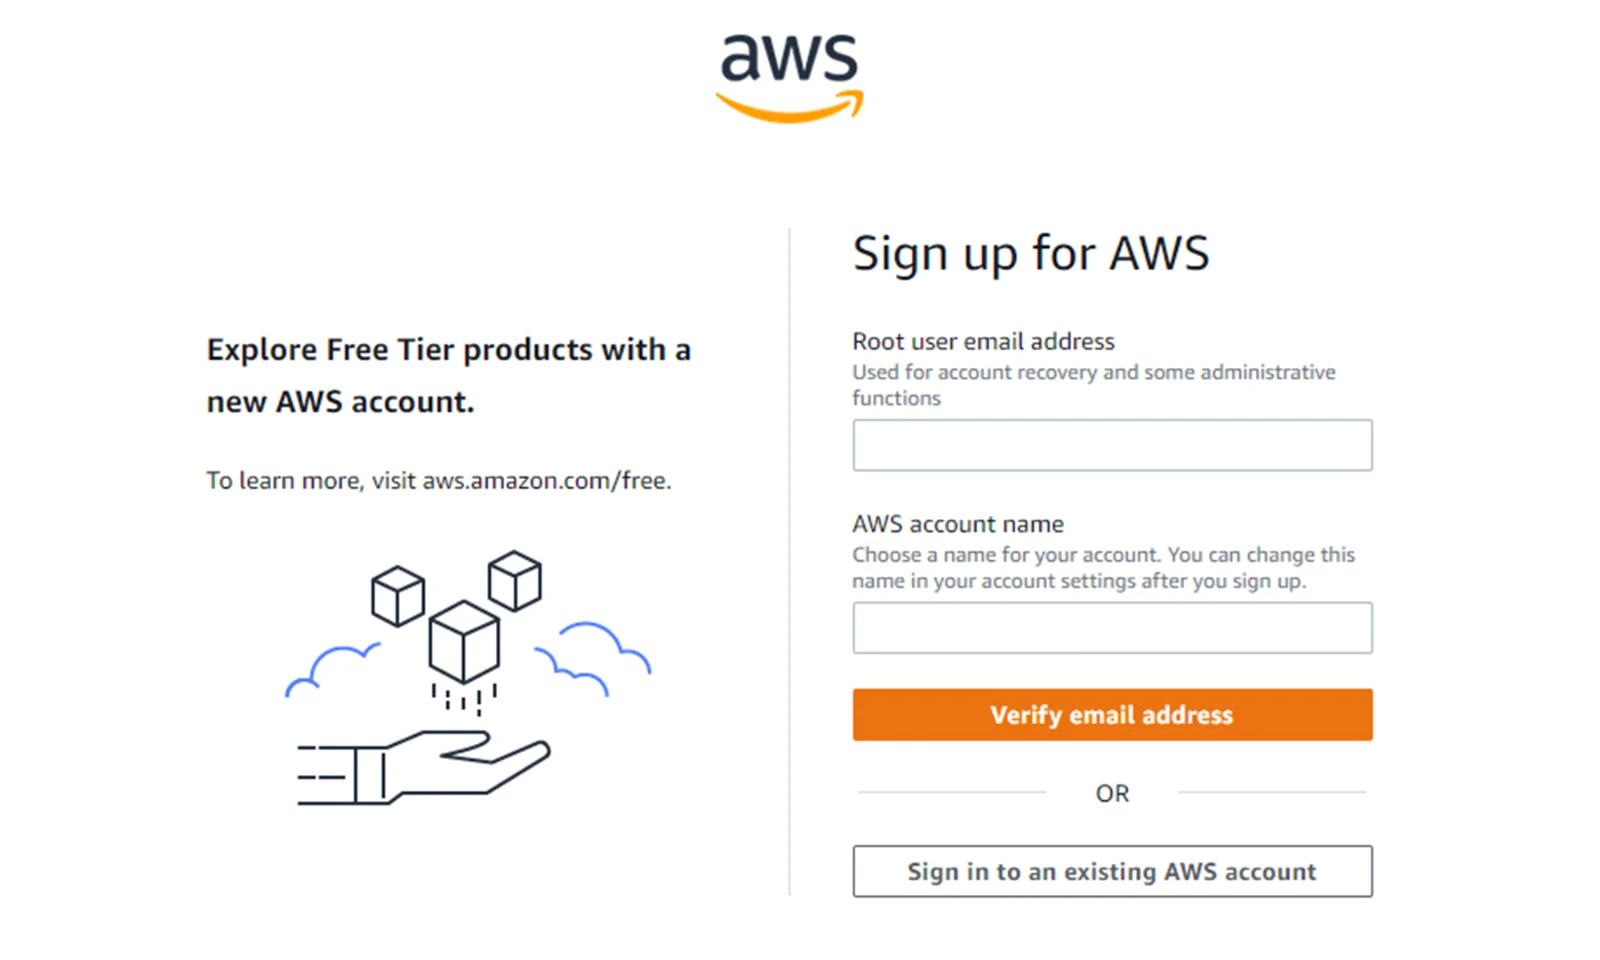
Step 2: Now we need to confirm our email address by entering the verification code that we receive in a message from AWS.
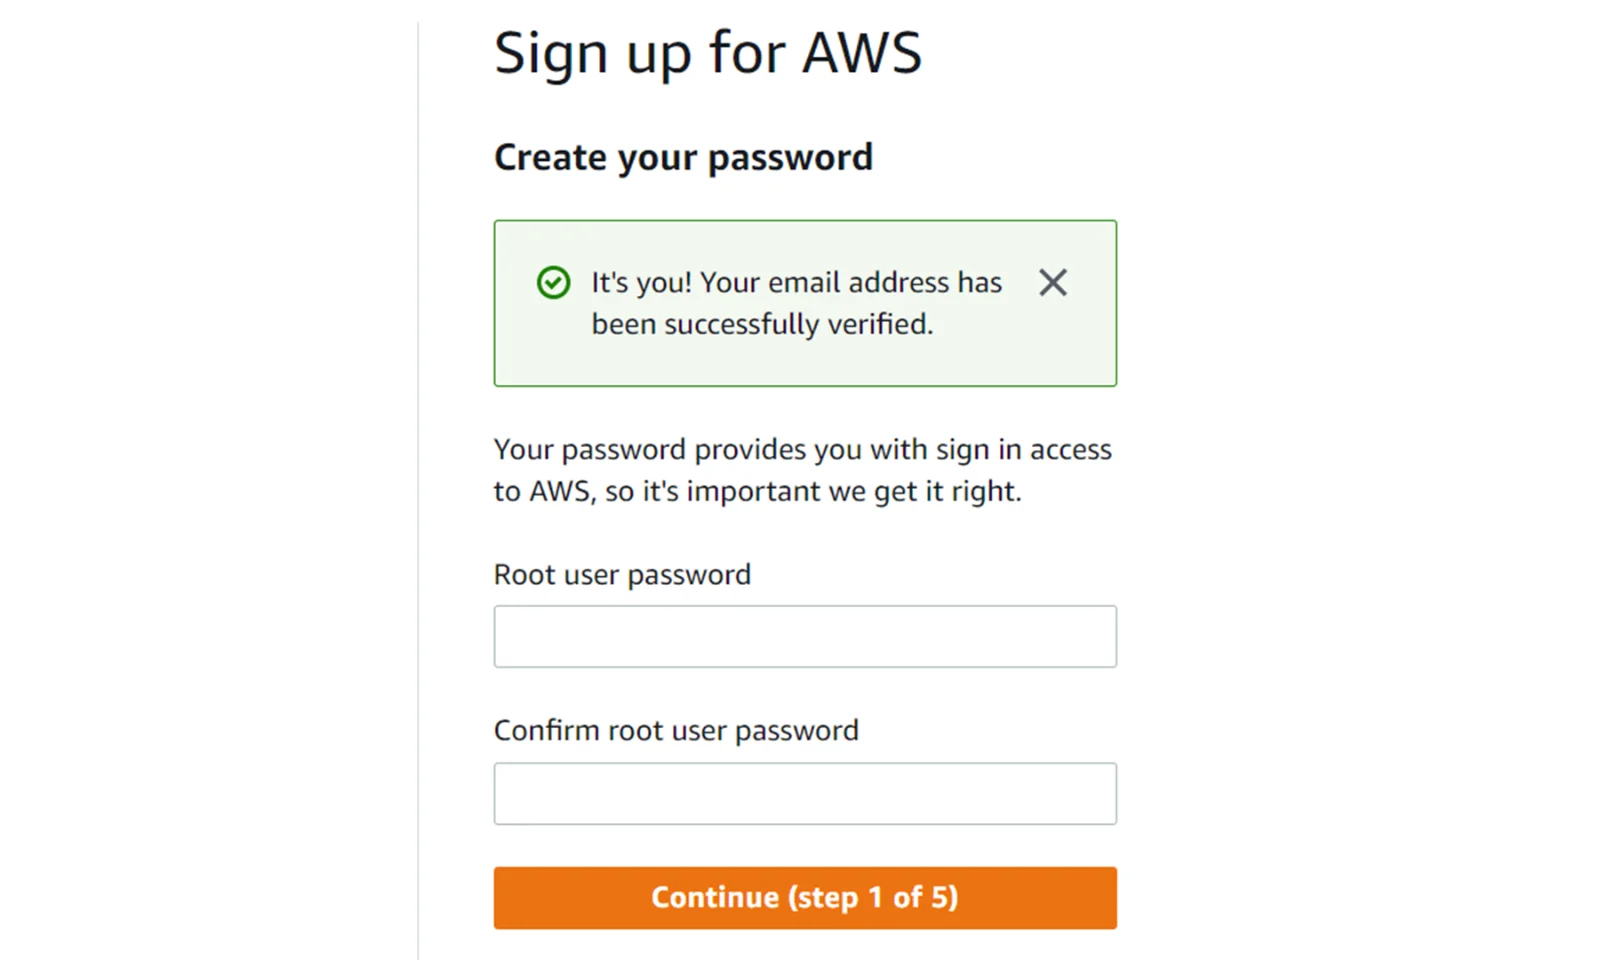
Step 3: After confirming the address, we proceed to entering our password for the root account.
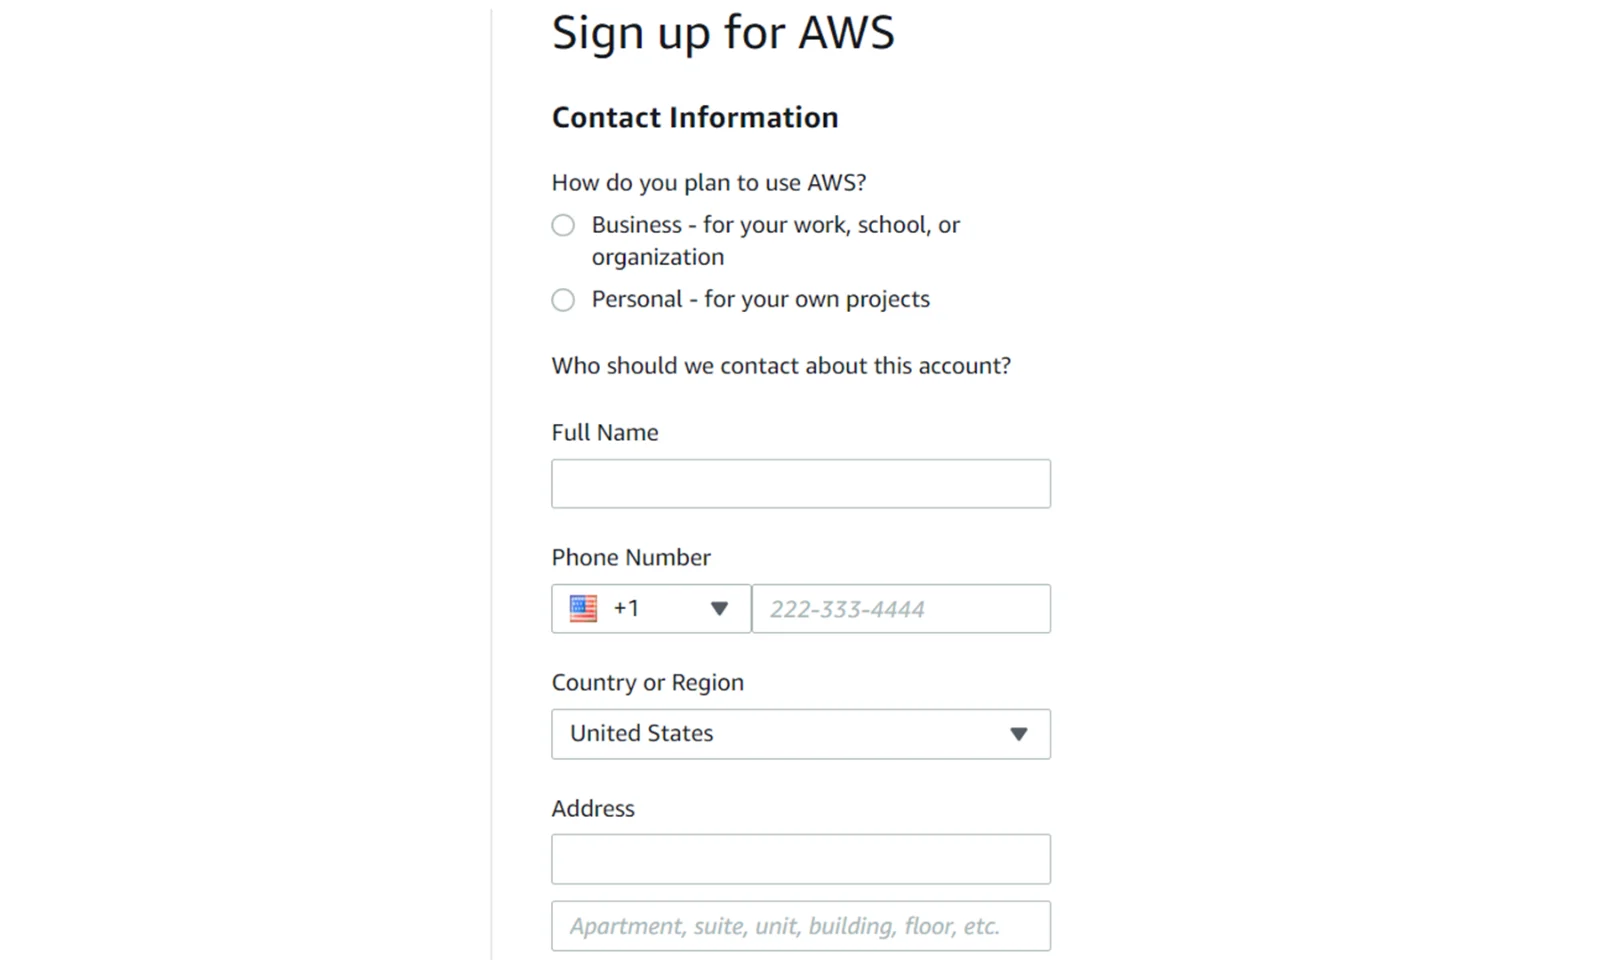
Step 4: In the next step, we need to provide our data. We need to provide real data here. This is because they will be needed to verify the card and phone number.
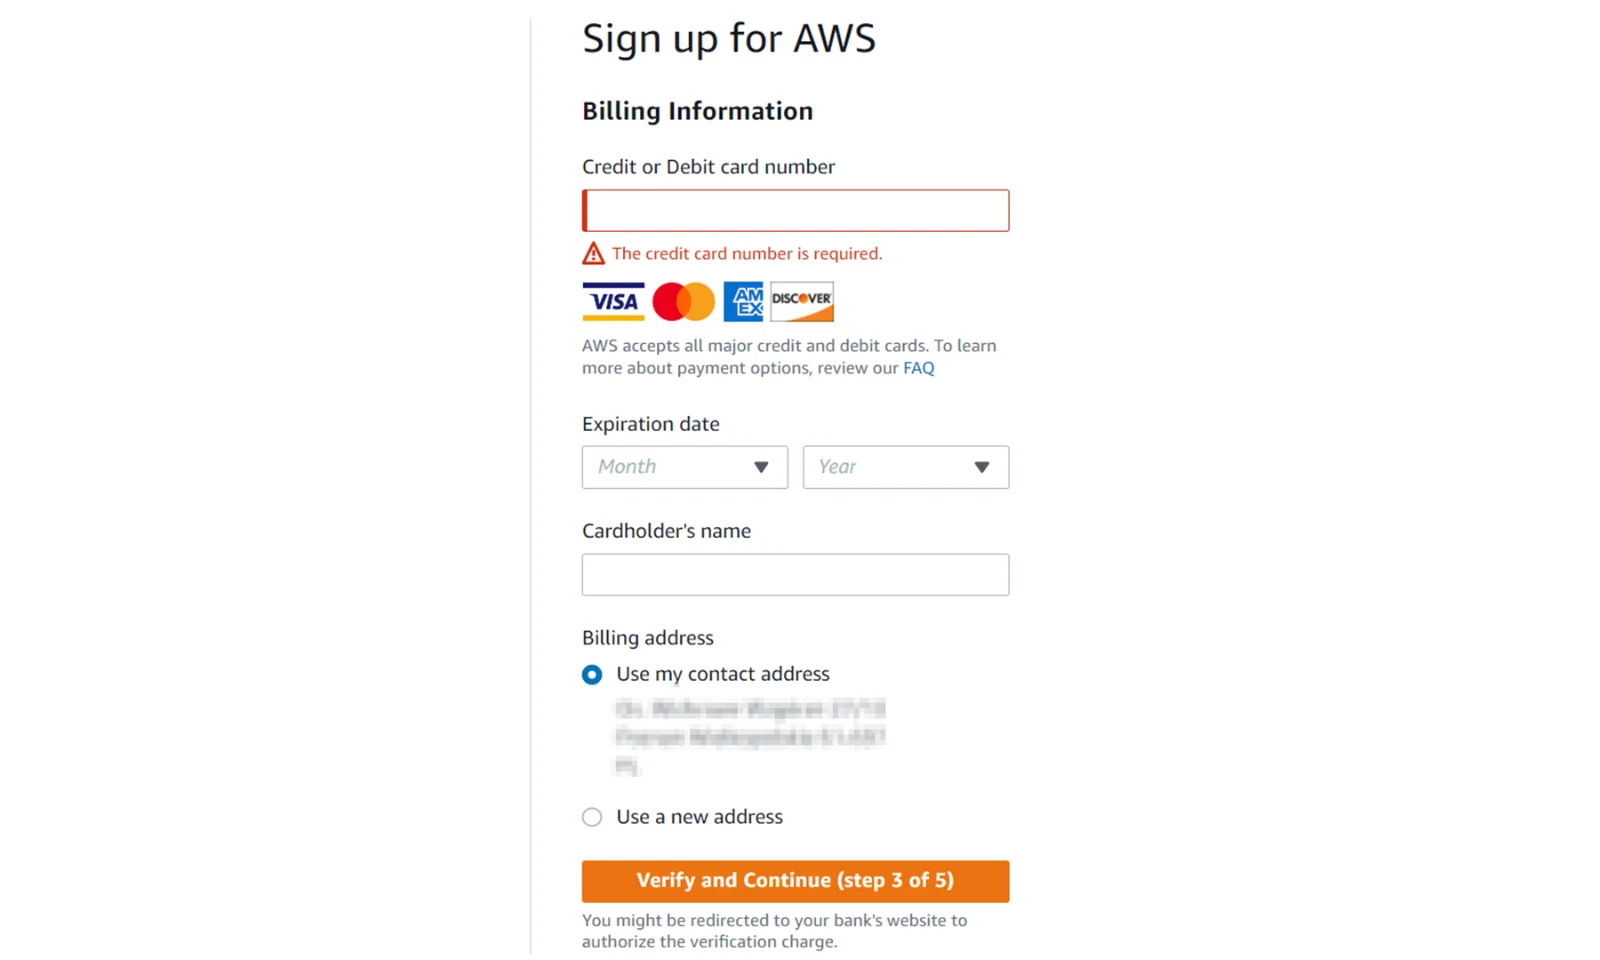
Step 5: In the next step, we must provide our payment/credit card details. Here you will also need to confirm the withdrawal of $1 from your account. This money will be returned after verification by AWS.
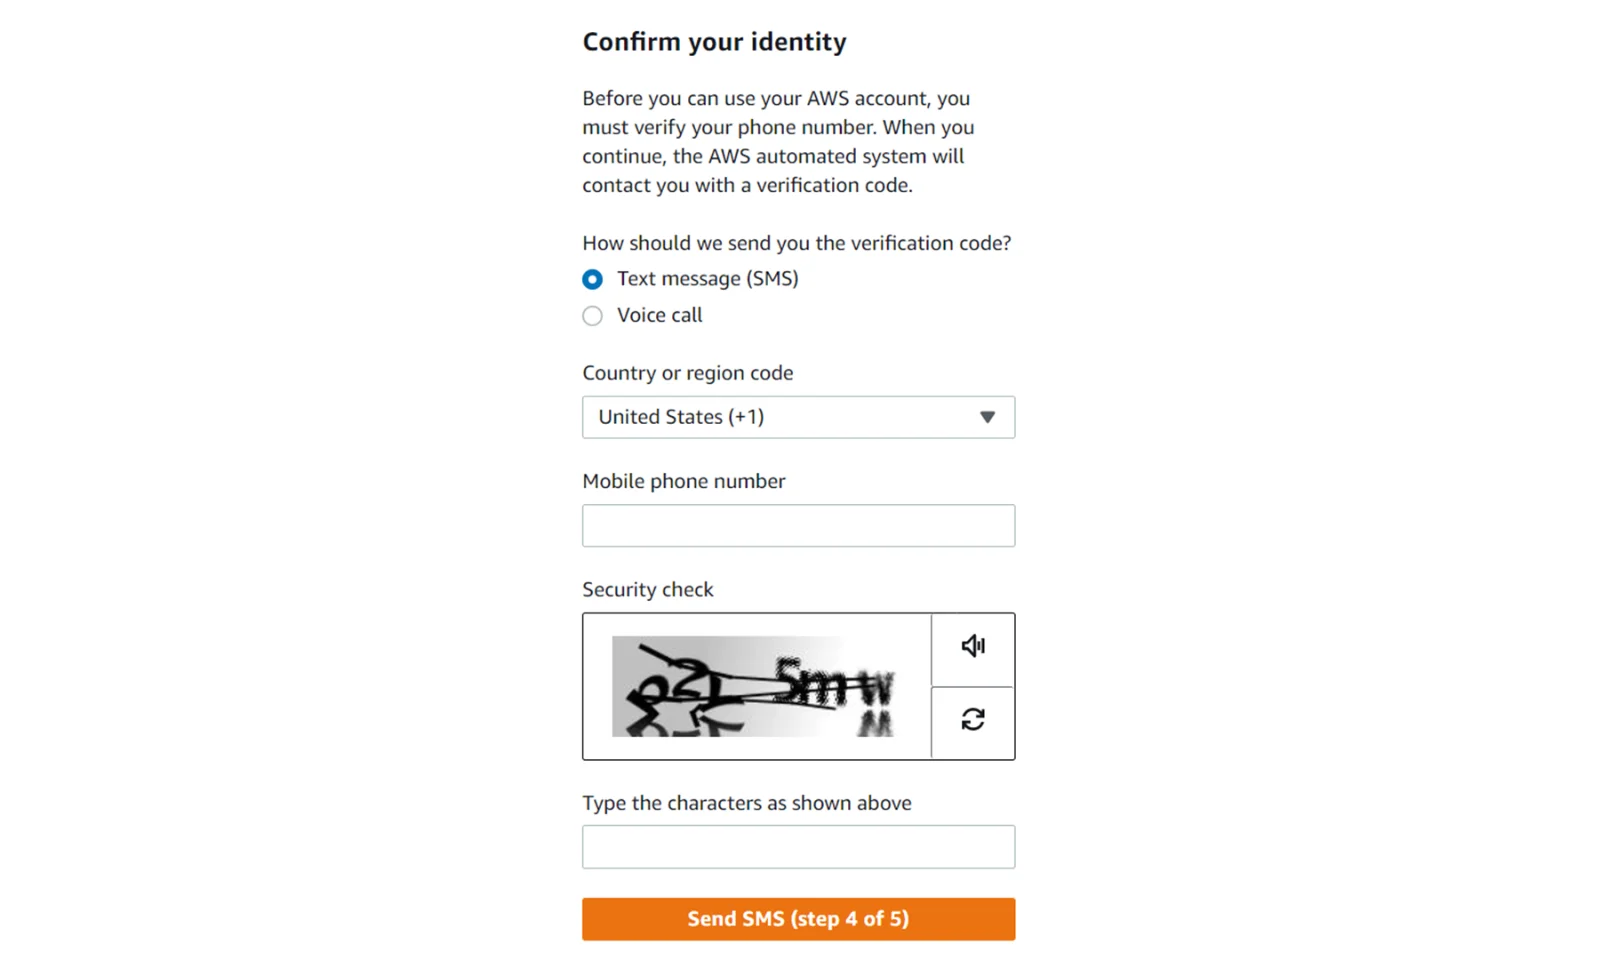
Step 6: Now we need to confirm our phone number. To do this, we must select the type of verification. The easiest way to do this is to send the code via SMS.
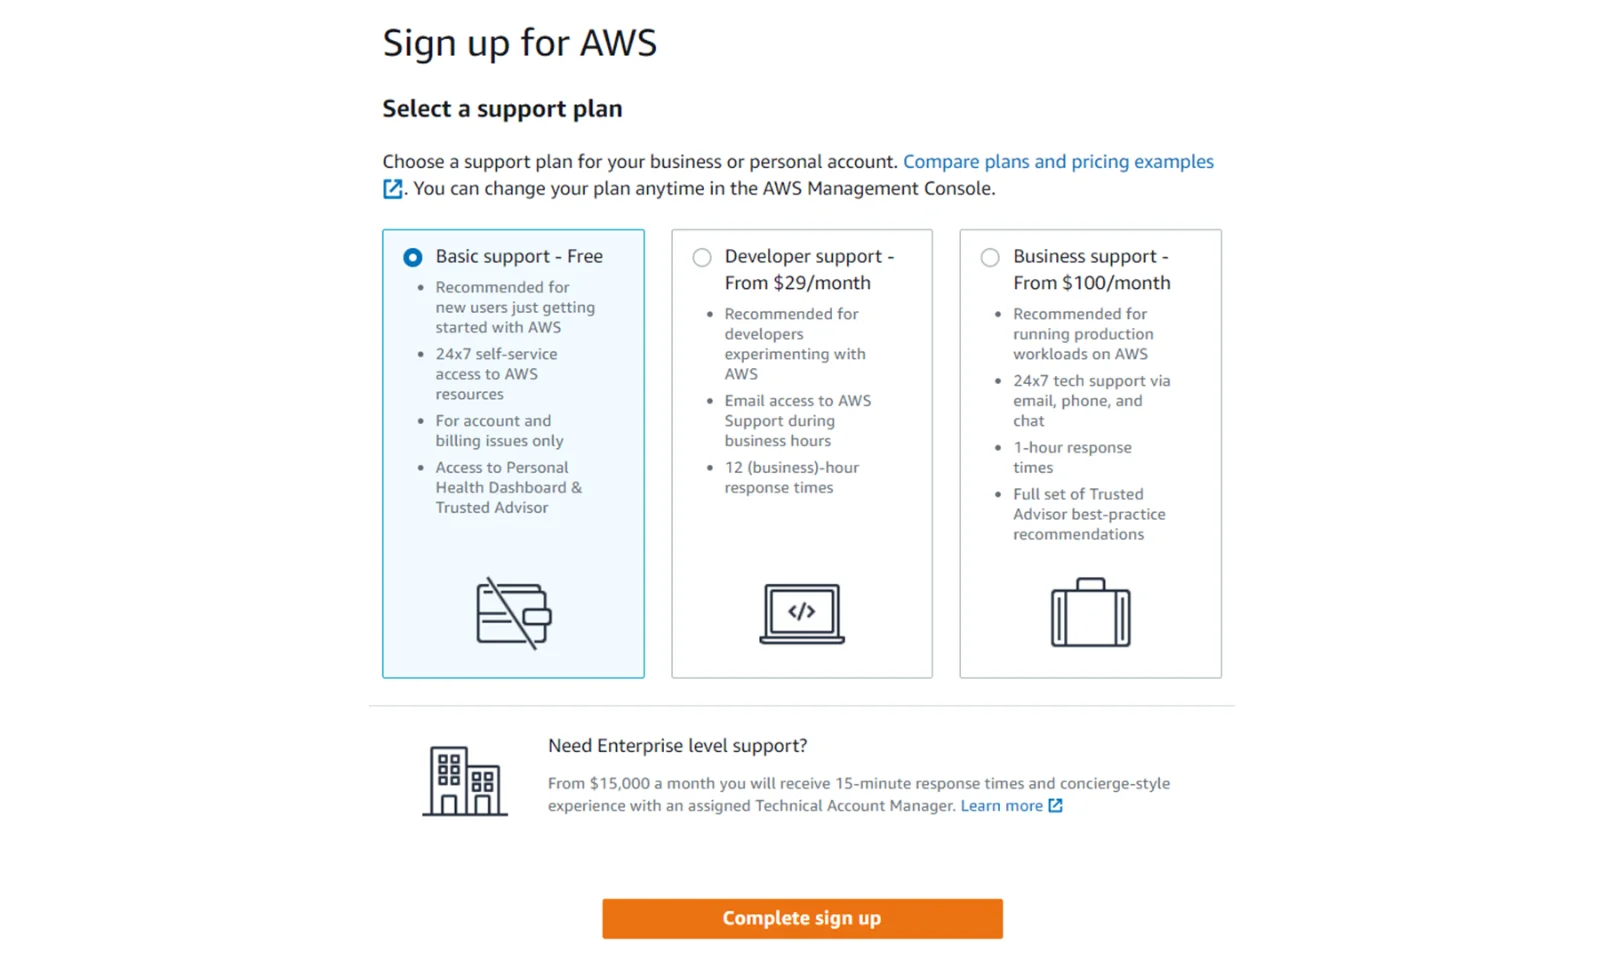
Step 7: In the last step, we choose the type of support from AWS. Here we choose the Basic support Free option.


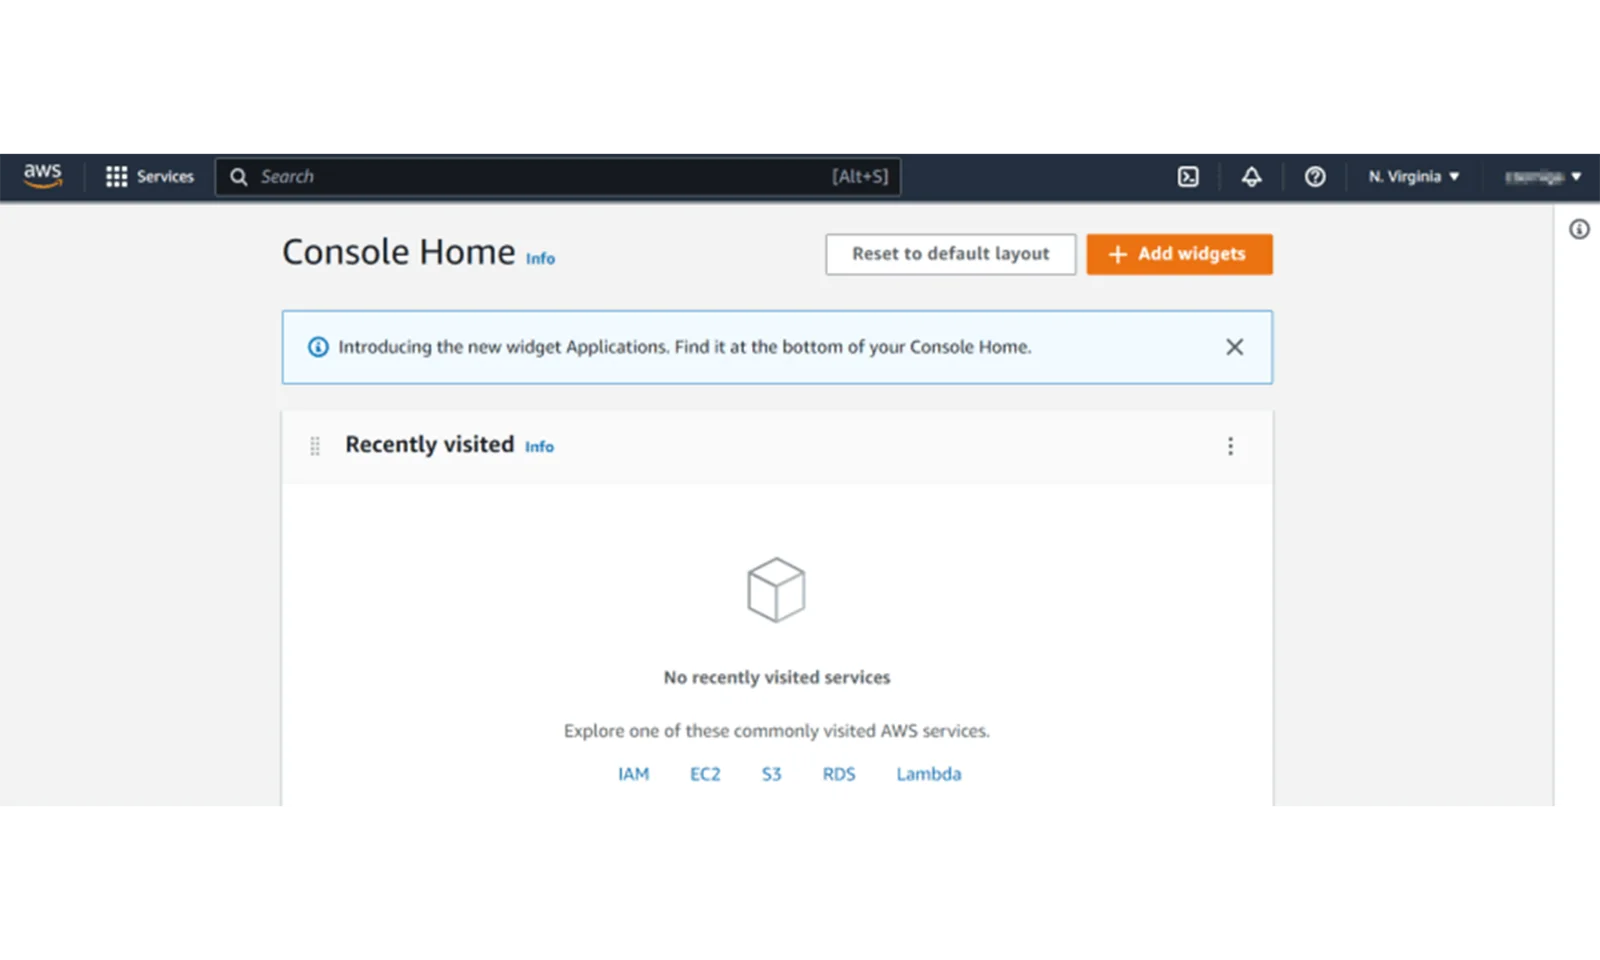
After logging in, we will see the main panel of the AWS console.
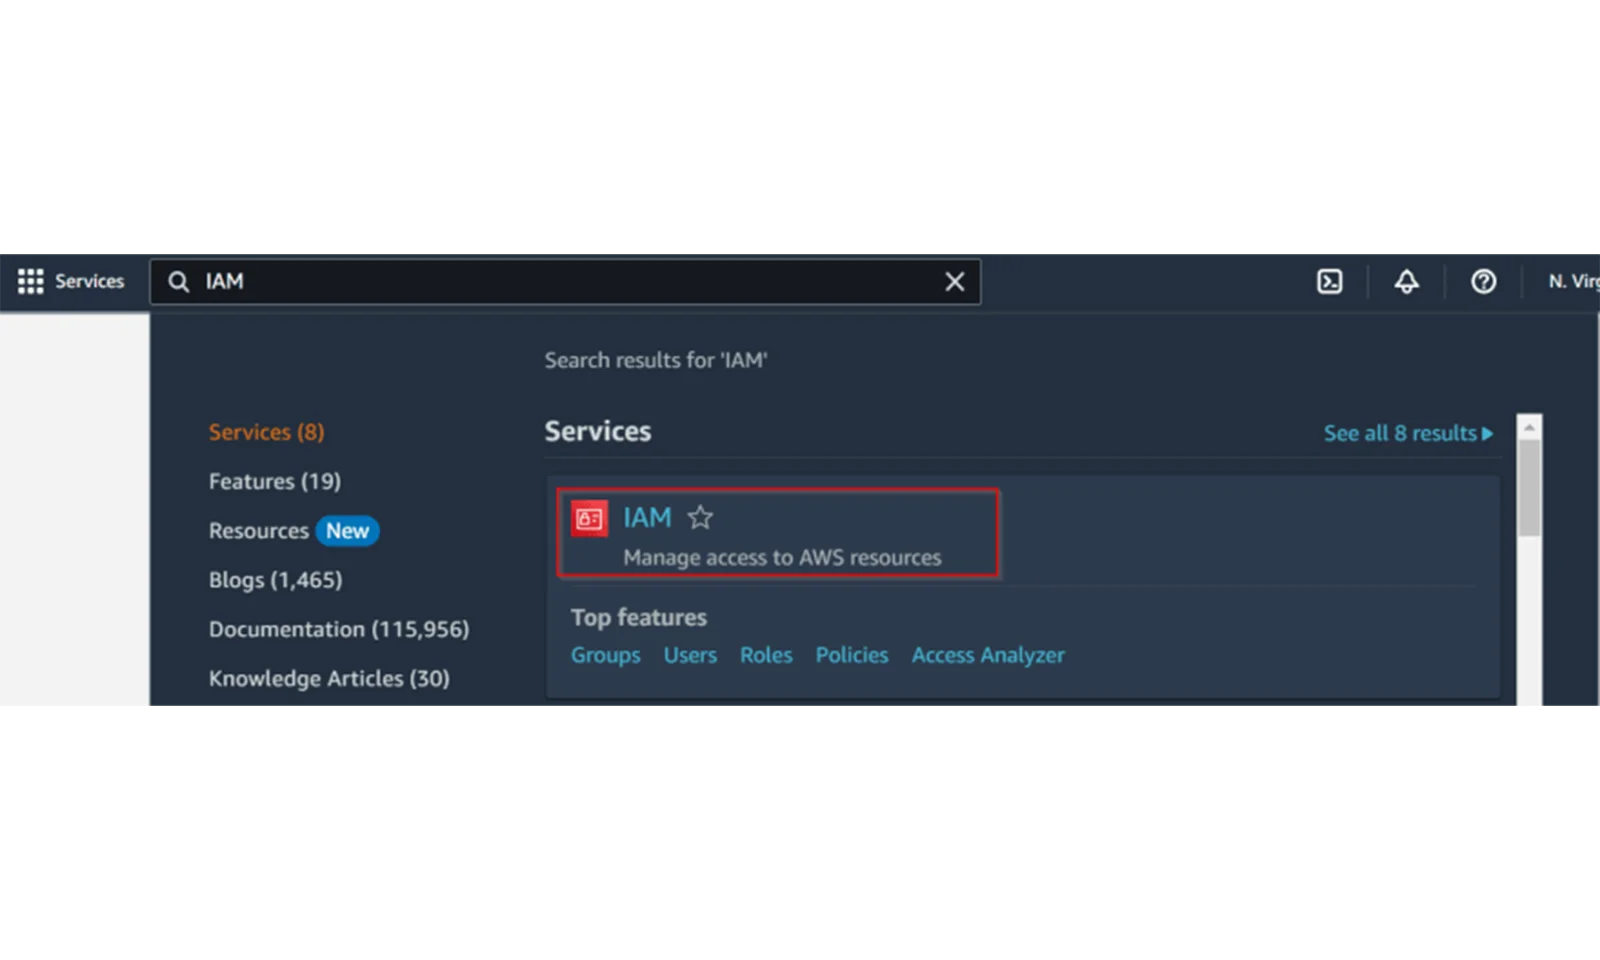
Step 1: Now go to our portal and enter IAM in the search panel. After a while, a link to the user management page will appear.
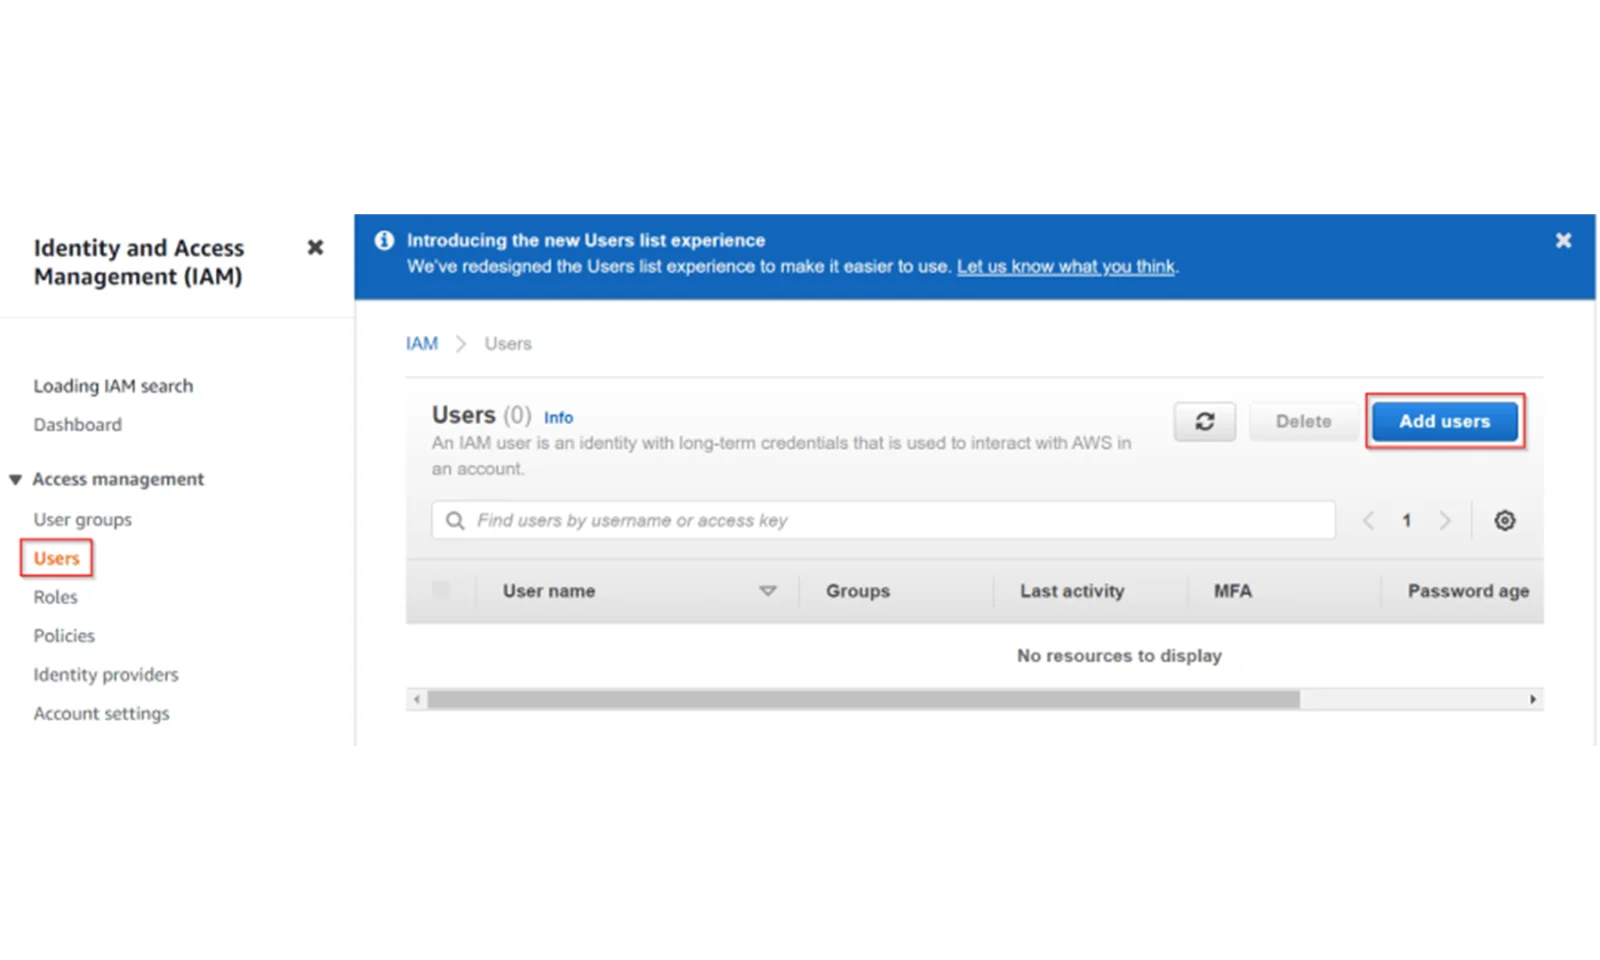
Step 2: On the next page, select Users from the menu and then click Add User.
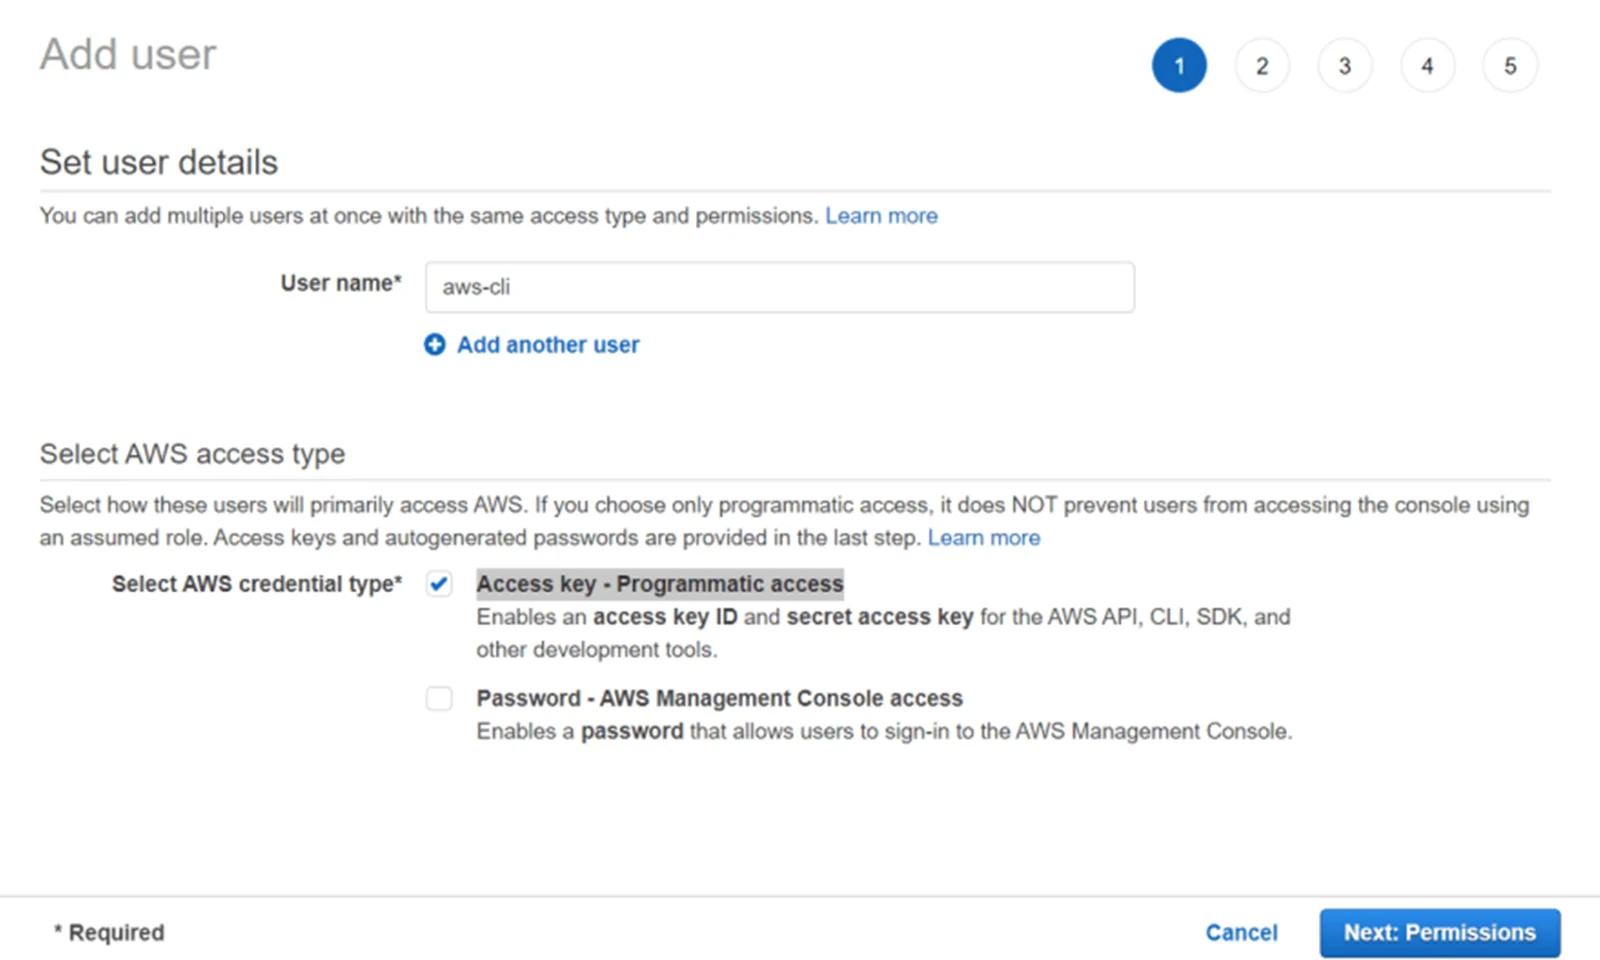
Step 3: Now we need to provide our username and select the Access key – Programmatic access option . Thanks to this, we will create a user to which we will connect from the AWS CLI. Now click on Next:Permissions.
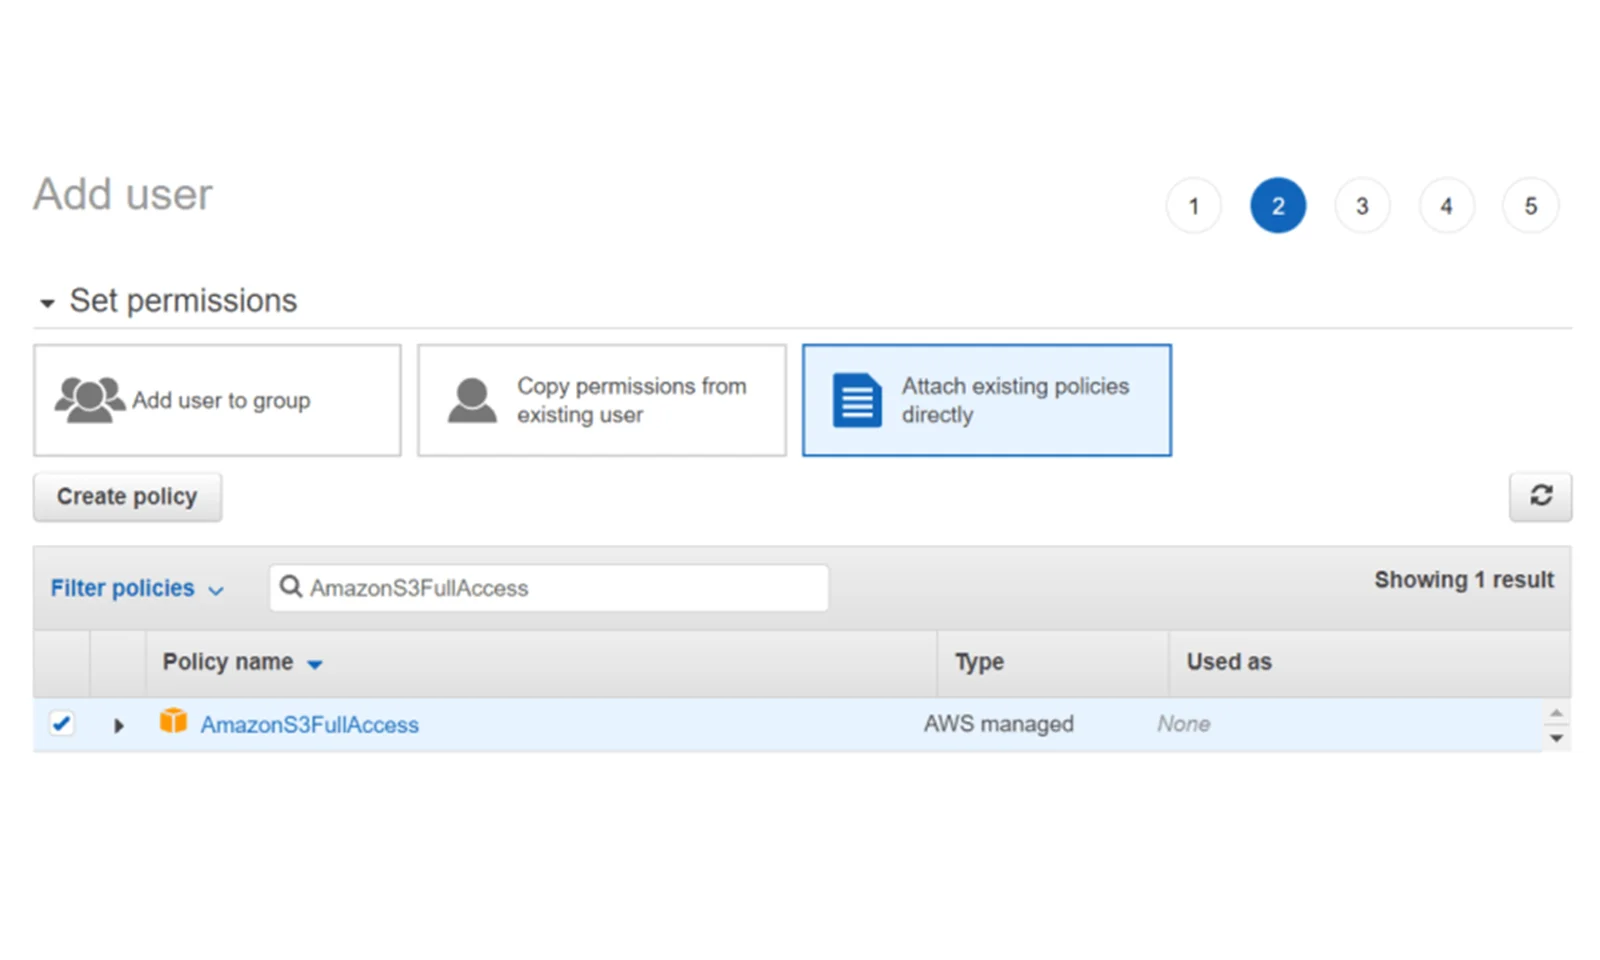
Step 4: In the next step, we need to grant permissions to our user. To do this, we select the Attach exisiting policies directly option . Then in the search window we enter AmazonS3FullAccess . Thanks to this, the user will be able to fully manage S3 buckets. If you want, you can grant more permissions here.
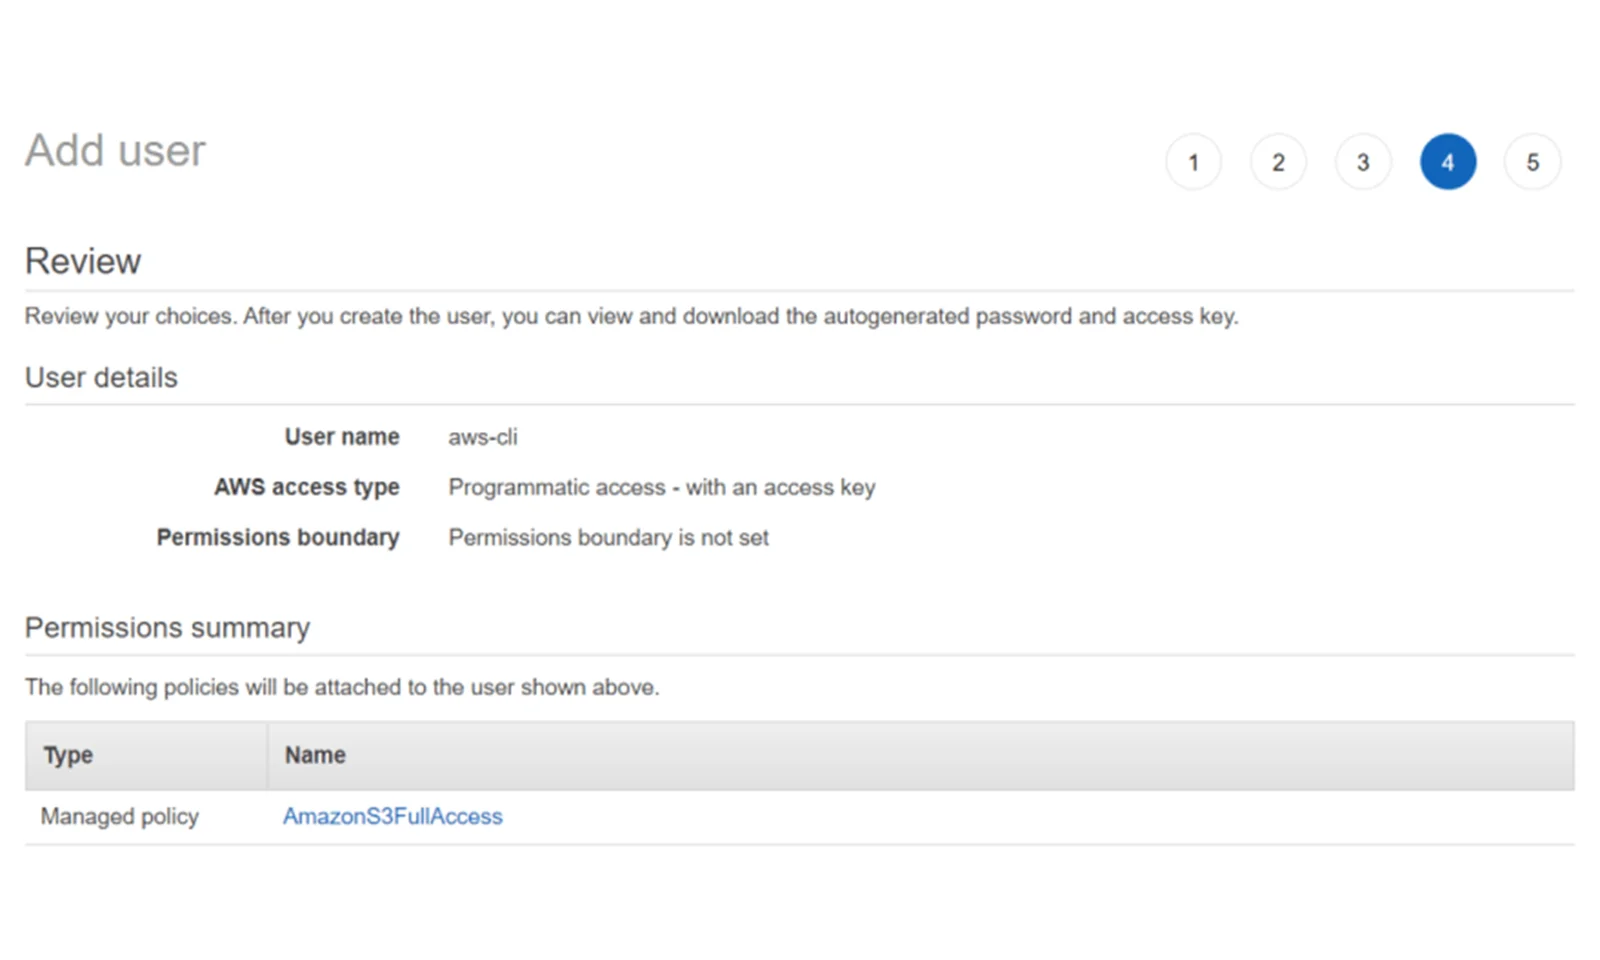
Step 6: Now we can check the summary about our user. We create a user by clicking Create user.
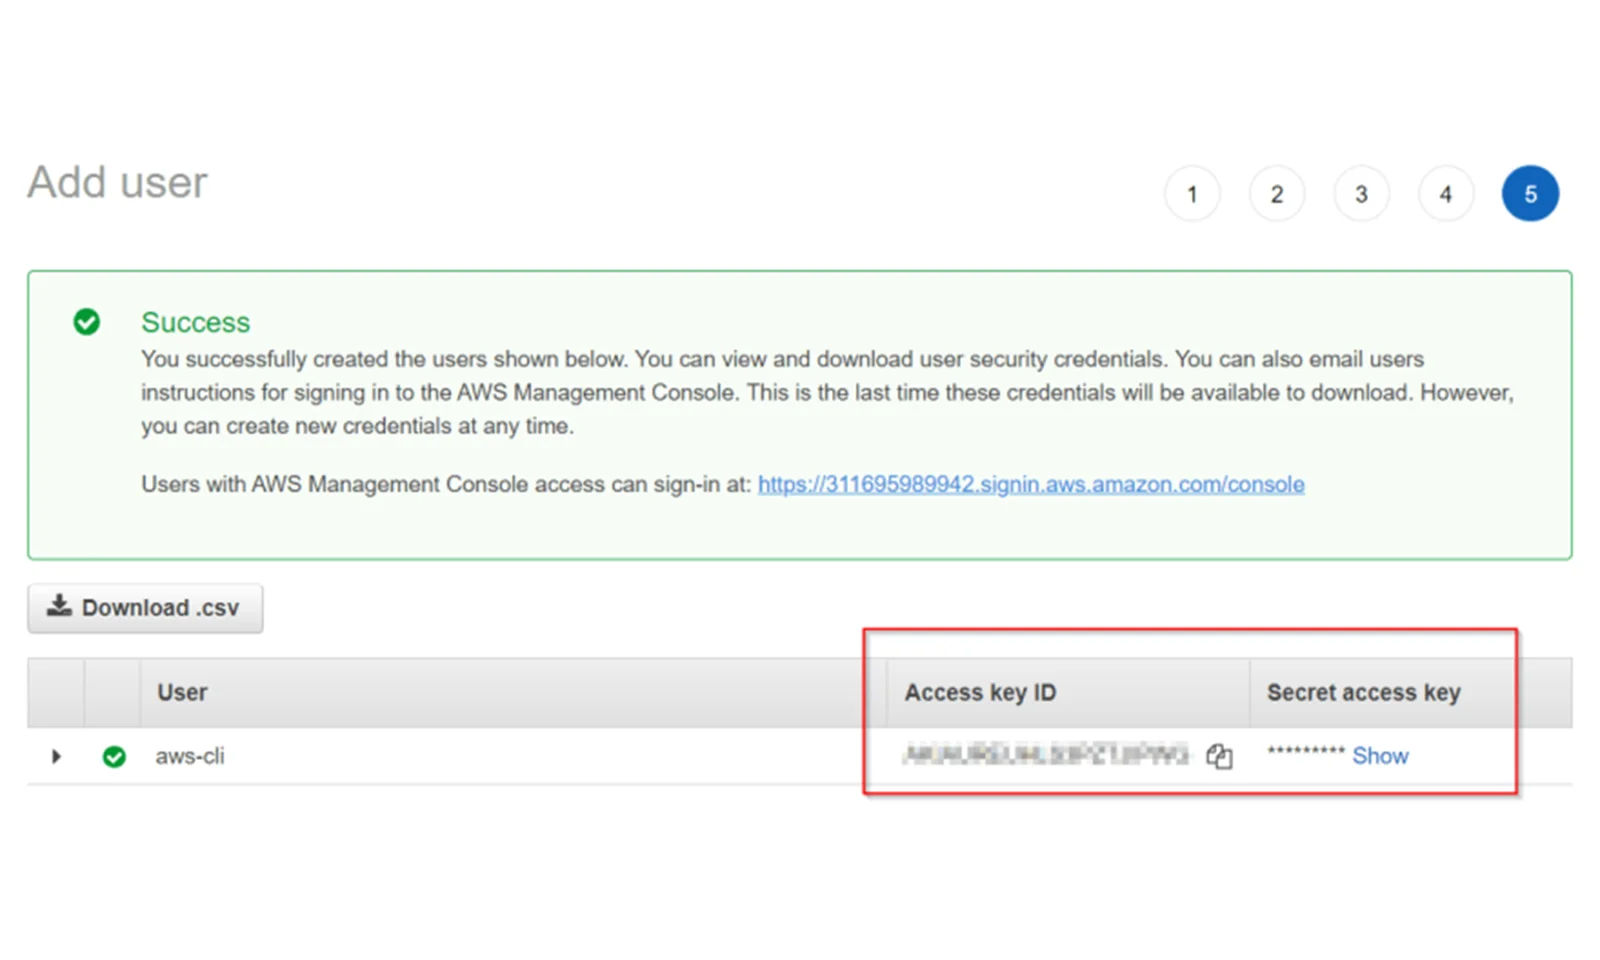
Step 7: There is very important information on the last page of user creation. These are two keys : Access key ID and Secret access key. Copy them because you will need them when configuring AWS CLI.
